You can have various ways of publishing your content from Adobe FrameMaker based on your requirements. You can output your documents in a variety of formats such as PDF, HTML, Responsive HTML, and even XML. The act of publishing means that your content is in the ready state for sharing or distributing it in either a printed document, online help, or dynamic web application.
Following is a step-by-step overview of the publishing process in Adobe FrameMaker, emphasizing major output formats and customization:
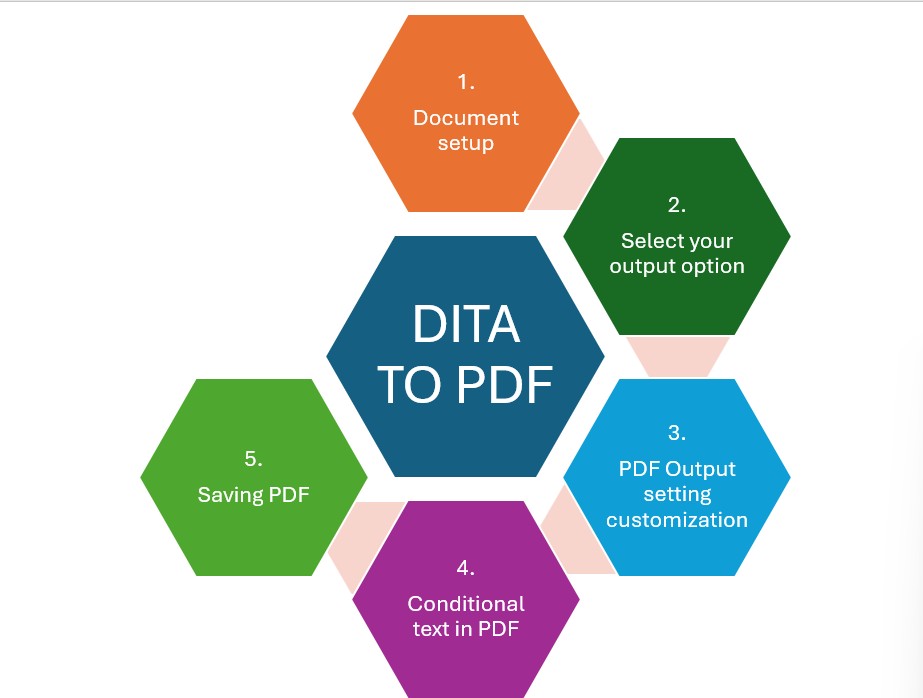
Publish to PDF
This is one of the most extensively practiced output formats, mostly for documentation or print manuals.
Steps to Publish to PDF:
1. Set up your document:
- Organize your DITA topics in a DITA Map.
- Appy conditional texts or formats for the output PDF version.
2. File > Save As > PDF:
Upon choosing Save As PDF, FrameMaker will present several output options.
3. PDF Output Setting Customization:
Within the PDF Setup dialog box, you may customize:
- Page Size: Any special page sizes like A4, Letter, etc.
- Margins: Margins according to your document layout.
- Headers/Footers: Special headers and footers like document title, page number, and date can be included.
- Watermark: An optional watermark can be added to the document (e.g., “Confidential”).
4. Conditional Text in PDF:
- When exporting to PDF, FrameMaker enables you to include or exclude content depending on the conditional tags, Advanced User or Basic User.
- Select the conditions you wish to use under the PDF setup, by clicking the Options button.
5. Saving PDF:
- Click Save to produce the PDF document.
- The document shall be exported in a format of PDF considering all your modifications.
Advanced PDF Customization:
- Bookmarks: Bookmark for quick access by including topics or sections as clickable links.
- Table of Contents (TOC): Auto-create a TOC from the DITA map structure.
Links and Cross-references: Hyperlink and cross-references within your DITA content will be preserved and converted into clickable links in the PDF output.